Dores Main Client Tutorial / Core setup
Dores Main Client
Install Dores, complete onboarding, connect your local coding workflow, and verify the desktop companion is running.
Dores User Manual
Document version: v3.1.5
Updated: 2026-04-29
Applies to: Dores for macOS
1. About This Manual
1.1 Scope
- Product: Dores macOS app
- Usage model: Dores stays in the macOS menu bar and provides quick access to model management, chat, screenshots, VIP status, language settings, and companion interactions.
1.2 What You Can Do With Dores
- Manage model routing and switch between cloud models and local models.
- Open the floating chat window for conversations.
- Capture a selected screen region and either save it or attach it to a chat.
- Use commands in the chat input to control zoom, models, actions, white noise, Zen Mode, and agent tasks.
- Upload images or screenshots in chat for visual understanding and OCR-style text recognition.
- Use system skills to create calendar events, reminders, notes, and email actions.
- Use Agent Skills to extend workflows and trigger commands quickly from
/autocomplete. - Optionally connect a Telegram bot so the same chat and skill capabilities can be used from Telegram private messages.
1.3 Interface Terms
- Menu bar icon: the Dores icon in the macOS menu bar.
- Icon menu: the menu opened by clicking the Dores menu bar icon.
- Chat window: the floating window used to send messages and view responses.
- Screenshot toolbar: the toolbar shown after selecting a screen region.
- VIP area: purchase, restore, and refresh options in the Dores menu.
2. Installation And First Launch
2.1 Confirm Dores Is Running
- 1Open Dores.
- 2Check the macOS menu bar.
- 3If the Dores icon is visible, the app is running.
After launch, the interface usually includes these areas:
- Main window: the left side shows the companion model, and the right side shows status cards.
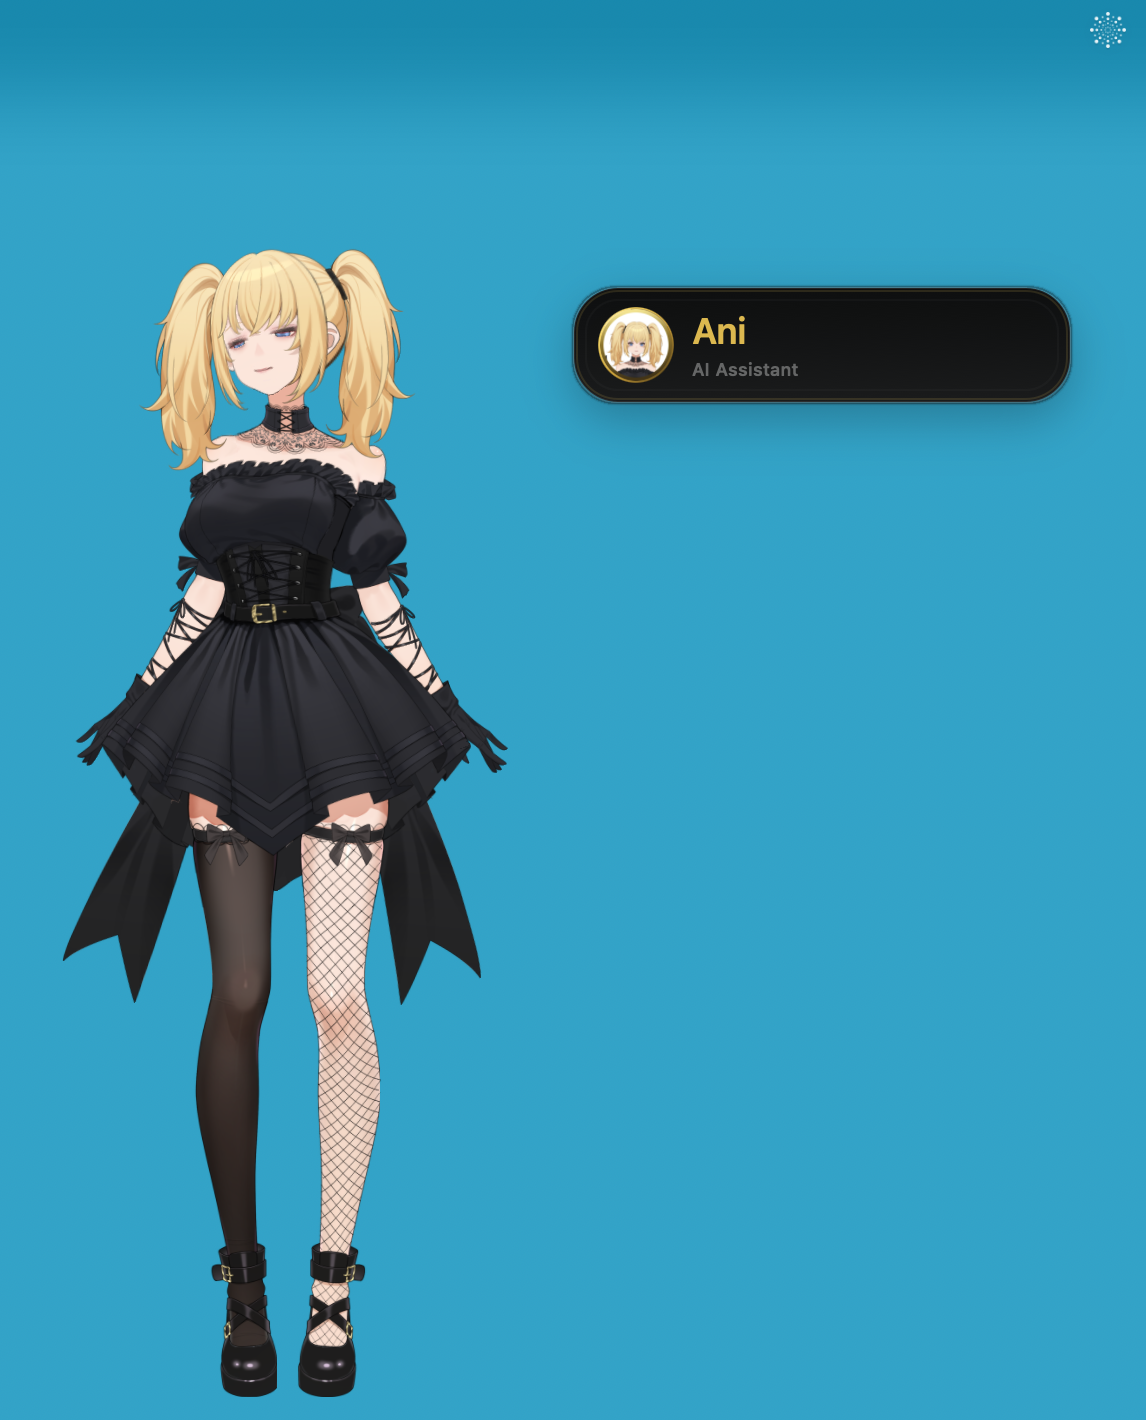
- Menu bar icon:
![]()
- Chat input panel: a dark input box appears near the companion model, with an avatar, name, and
AI Assistantlabel.
2.2 Command Autocomplete
Type / in the chat input to open command autocomplete. Continue typing keywords to filter available commands.
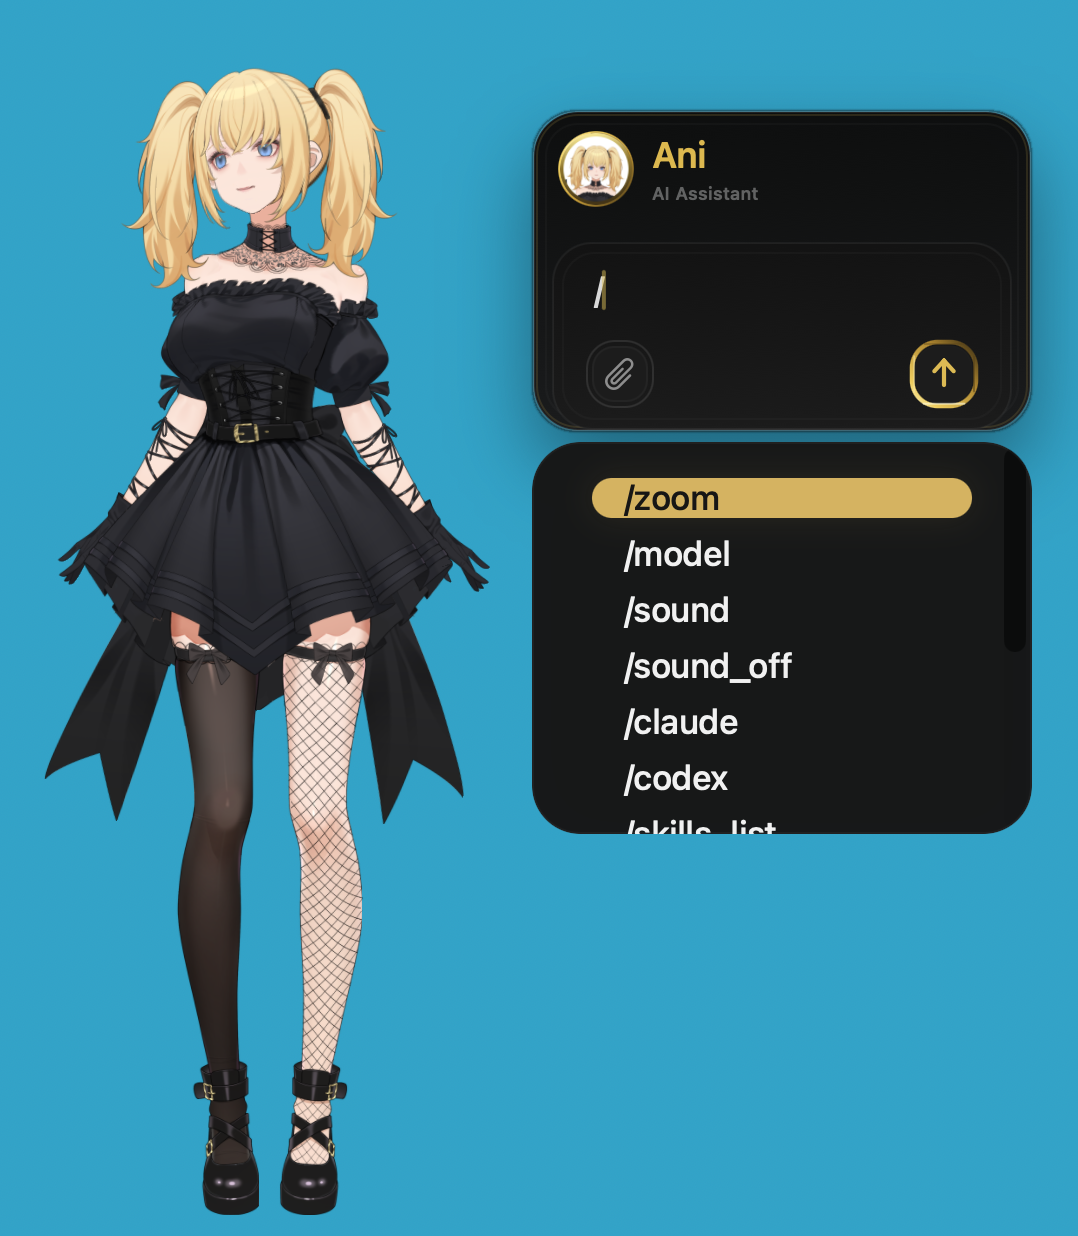
Common commands include:
| Command | Purpose | Requirement |
|---|---|---|
/zoom | Adjust companion model size | Dores only |
/model | Switch the active model | Dores only |
/sound | Play white noise | Dores only |
/sound_off | Stop white noise | Dores only |
/chat | Open or focus chat capabilities | Dores only |
/zen_start | Enter a more focused Zen Mode | Dores only |
/claude | Start an independent Claude task | Requires dores-agent |
/codex | Start an independent Codex task | Requires dores-agent |
The /claude and /codex commands require the bridge tool to be installed first. Open the dores-agent Bridge Tool Tutorial before using these commands.
3. Menu Overview
Open the menu by clicking the Dores icon in the macOS menu bar.
3.1 Menu Structure
- Hotkey settings: shortcut groups for model zoom controls.
LLM Model: opens the model management window, where you can download local models and choose the active chat model.- Chat: opens the floating chat window.
- Screenshot: starts region screenshot mode.
- VIP: purchase, restore purchases, and refresh VIP status.
- Language: changes the app language.
- About: shows app information.
- Quit: exits Dores completely.
3.2 Model Zoom Hotkeys
Use this area to select a shortcut pair for model zoom controls, such as a Cmd =/- style combination.
- 1Open the menu.
- 2Find the model zoom hotkey section.
- 3Select the shortcut group you prefer.
- 4Use the selected shortcut in the main Dores window or during companion interactions.
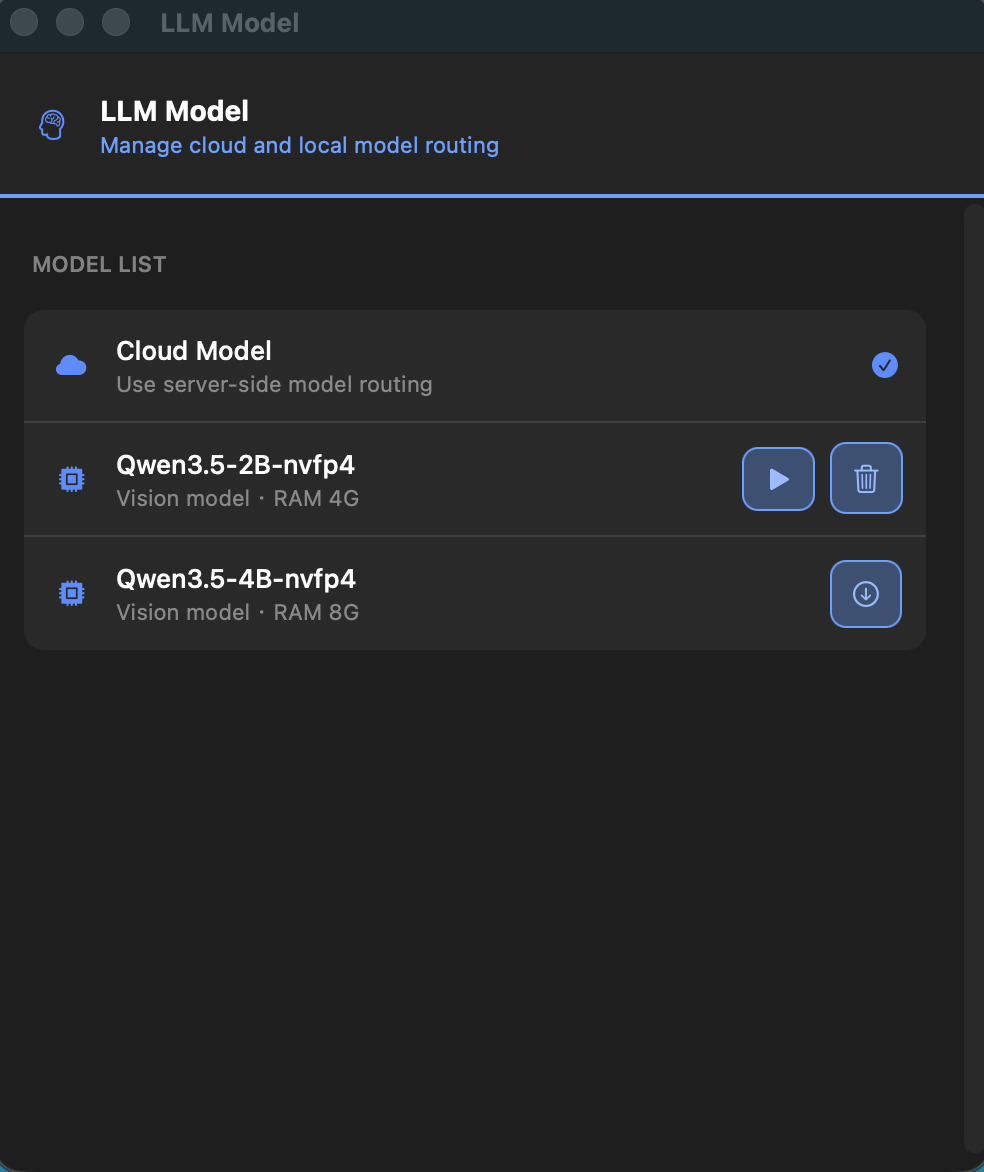
3.3 LLM Model
Use LLM Model to open the model management window. This window lets you manage cloud and local model routing, download local models, and switch the model used by chat.
Steps:
- 1Click
LLM Modelin the Dores menu. - 2Review the model list. It usually includes:
Cloud Model: uses server-side model routing.- Local model entries: show model name, model type, memory usage, and status.
- 1If a local model is not downloaded, click the download button.
- 2After download completes, click the enable button for that model.
- 3When a model is selected, chat requests will prefer that model.
Notes:
- You can switch between
Cloud Modeland local models. - Local model availability depends on whether the model is downloaded and whether your device has enough resources.
- Downloaded local models can usually be deleted to free storage.
3.4 Open The Chat Window
- 1Click
Chatin the Dores menu. - 2The floating chat window appears.
- 3Type a message and send it.
3.5 Region Screenshot
- 1Click
Screenshotin the Dores menu. - 2Select a screen region.
- 3Choose whether to save, cancel, or confirm the screenshot.
3.6 VIP Area
The VIP area usually includes:
Purchase VIP: starts the purchase flow.Restore Purchase: restores existing purchases after reinstalling or switching devices.Refresh VIP Status: manually refreshes VIP entitlement status.
3.7 Language
- 1Open
Languagefrom the Dores menu. - 2Select your preferred language.
- 3Menu and window text will update accordingly.
3.8 About And Quit
About: shows app information and related links.Quit: exits Dores completely. The menu bar icon disappears after the app quits.
4. Chat Window
4.1 Open And Close
- Open: click
Chatin the Dores menu. - Close: closing the chat window usually hides it instead of quitting Dores.
- Quit: use the menu
Quitaction to fully stop the app.
4.2 Basic Conversation
- 1Type your request in the input box.
- 2Send the message.
- 3The response appears in the message area. Some responses may stream progressively.
Recommended usage:
- Describe your request in natural language.
- Add time, location, object, count, or output format when accuracy matters.
- You can ask the companion to perform simple actions such as waving or making a heart gesture.
- Type
/to open command autocomplete for Agent Skills and built-in commands.
4.3 /claude Command
/claude sends your request as an independent Claude task.
This is different from normal chat:
- Normal chat: the message goes to the current chat model.
/claude: Dores creates a separate Claude task through the bridge tool.
Requirement:
- You must install and run
dores-agentbefore using/claude. - Setup guide: dores-agent Bridge Tool Tutorial
Usage:
- 1Open the chat window.
- 2Type
/claudefollowed by your prompt. - 3Send the message.
Example:
/claude Write a quicksort implementation in C.You can also type /, choose /claude from autocomplete, and then complete the prompt.
Rules:
/claudemust include a prompt.- If you send only
/claude, Dores may show:Usage: /claude <prompt>. - The command is recorded in chat history.
- Claude task status and results are returned to the chat window.
- This command does not use the currently selected normal chat model.
4.4 /codex Command
/codex sends your request as an independent Codex task.
This is different from normal chat:
- Normal chat: the message goes to the current chat model.
/codex: Dores creates a separate Codex task through the bridge tool.
Requirement:
- You must install and run
dores-agentbefore using/codex. - Setup guide: dores-agent Bridge Tool Tutorial
Usage:
- 1Open the chat window.
- 2Type
/codexfollowed by your prompt. - 3Send the message.
Example:
/codex Create a quicksort implementation in C.You can also type /, choose /codex from autocomplete, and then complete the prompt.
Rules:
/codexmust include a prompt.- Describe the target clearly, including file names, feature scope, constraints, and expected output.
- This command sends a Codex task and does not use the normal chat message pipeline.
- This command does not use the currently selected normal chat model.
5. Screenshots And Image Attachments
5.1 Screenshot Tool
Use the screenshot action to capture a selected screen region and attach it to chat.
- 1Open the Dores menu.
- 2Click
Screenshot. - 3Select a region.
- 4Confirm the screenshot if you want to attach it.
5.2 Chat Attachment Menu
The chat window can include an attachment menu for image-related actions.
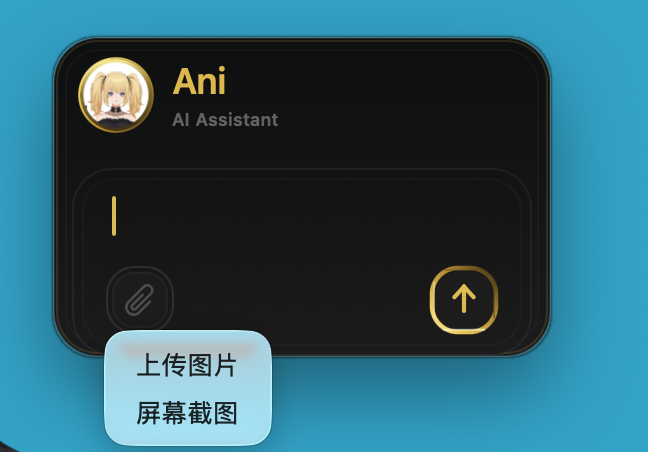
Common image workflows:
- Upload a local image.
- Capture a screenshot.
- Ask Dores to summarize or identify text in the image.
- Ask follow-up questions about the image content.
6. Agent Skills
Agent Skills extend the chat window with additional actions. Type / to open autocomplete and search for available skills.
Typical skill workflows:
- Create a calendar event.
- Create a reminder.
- Create a note.
- Draft or process an email.
- Trigger a custom command.
Recommendations:
- Use clear action words.
- Include dates, times, names, and target apps when relevant.
- Review the generated action before relying on it for important workflows.
7. Telegram Bot Integration
Dores can optionally connect to a Telegram bot so you can use chat and skills from Telegram private messages.
7.1 How It Works
- You send a private message to your Telegram bot.
- Dores processes it using the same chat and skill pipeline.
- The result is sent back to the Telegram conversation.
7.2 Preparation
Create a Telegram bot and obtain a bot token, usually through @BotFather.
Then write the configuration file under APP_GROUP_DIR:
APP_GROUP_DIR/Config/pair_config.jsonExample content:
{
  "telegram_bot_token": "YOUR_TELEGRAM_BOT_TOKEN"
}
Restart Dores or wait for the next automatic reload.
7.3 Usage
- 1Open the private chat with your Telegram bot.
- 2Send a message, or send
/start. - 3The bot replies after Dores finishes processing the request.
7.4 Relation To VIP And Chat Capabilities
- Telegram chat capabilities match the normal Dores chat capability.
- Usage limits and availability may follow your trial or VIP status.
8. Troubleshooting
8.1 Dores Icon Does Not Appear
- Reopen Dores.
- Check whether macOS blocked the app.
- Restart the app if it was updated recently.
8.2 Chat Does Not Respond
- Check your network connection.
- Verify the selected model in
LLM Model. - If you use a local model, confirm it is downloaded and enabled.
8.3 /claude Or /codex Does Not Work
- Install and start
dores-agent. - Open the dores-agent Bridge Tool Tutorial.
- Confirm the bridge service is running.
- Check the bridge log at
~/dores/logs/unified-agent.log.
8.4 Images Do Not Attach Or Analyze
- Retry the screenshot or upload action.
- Confirm the image file is valid.
- If permissions are missing, allow Dores access in macOS settings.
9. Path Notes
This manual uses APP_GROUP_DIR as a placeholder for the Dores App Group directory:
APP_GROUP_DIR = ~/Library/Group Containers/group.com.dores.appAny path written as APP_GROUP_DIR/xxx means a subpath under this directory.